
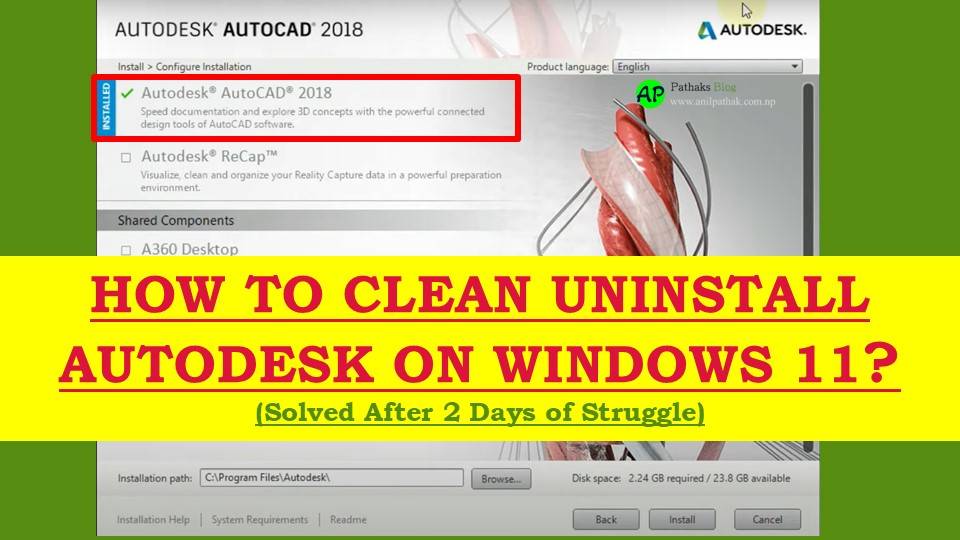
Uninstalling Autodesk on Windows 11 should not be this hard, but it is sometimes. When you already have installed the software and it got some error. I spent over 48 hours figuring out how to completely remove all traces of Autodesk Software from my PC just to reinstall it properly. If you are stuck like I was, this guide will save you hours (or even days) of trial and error.
Why you might need a clean uninstall?
- Autodesk apps not reinstalling properly
- Licensing issues persisting
- Installation errors and crashes
- Conflicts between different Autodesk versions
A clean uninstall ensures your system is completely free of leftovers files, folders and registry entries.
What Did not Work for Me ?
- Using Windows “Add or Remove programs” in control panel
- Relying only on Autodesk’s own uninstallers
- Deleting folders without touching registry entries
These method still left behind hidden files and registry values that caused reinstallation issues. When I thought that the Uninstallation is completed and tried to install the Autodesk software, it again showed that the application is installed.
Step By Step : How to Clean Uninstall Autodesk on Windows 11
Step 1: Use the Autodesk Uninstall Tool
The tool is available here as per the discussion on Autodesk Forum. It says you to use the troubleshooter of Microsoft.
Step 2: Delete Leftover Autodesk Folders
When you install any software, it create folder in multiple locations. You can identify it manually and delete them. The location of the folders can be as following:
- C:\Program Files\Autodesk
- C:\ProgramData\Autodesk
- C:\Users\YourUsername\AppData\Local\Autodesk
- C:\Users\YourUsername\AppData\Roaming\Autodesk
Tip: Some file may be hidden. So, enable view hidden files.
Step 3: Clean the Windows Registry
The Windows creates registry to identify the programs. So, you may need to delete the software records from the Registry as well. To open this, just press Windows +R and type regedit. Then hit enter. Now, find the following Registry entries and delete them.
- HKEY_CURRENT_USER\Software\Autodesk
- HKEY_LOCAL_MACHINE\SOFTWARE\Autodesk
- HKEY_LOCAL_MACHINE\SOFTWARE\Wow6432Node\Autodesk
Deleting the Registry Entries can be risky. So, consider backing it up before doing this.
However, I did use the Iobit Uninstaller Free version which reduced my manual task of deleting the relevant Registry.
Step 4: Restart Your Computer
Now, restart your computer. This clears memory and resets the system state.
What Finally Worked for Me
After trying several methods, using the Uninstaller, deleting folders, cleaning registry and all the above exact steps, finally resolved my issue.
Still Having Issues?
- Ask your question in a Reddit tech support thread.
FAQs
How do I remove Autodesk completely from Windows 11?
Follow the steps mentioned: Uninstall, Delete Folders, Clean Registry and Restart the PC.
Is it safe to delete registry entries?
Yes. But do not edit or modify the unknown registry. It is better to backup before modify the registry.
Final Thoughts
Uninstalling Autodesk on Windows 11 should not require technical degree, but this simple guide can save your few days of researching and trials. I hope this guide saves you the headache I went through.
If this helped you, share it with a friend who is stuck on this.
| Convert Nepali Date into English | Age Calculator Nepali |
| Convert Unicode to Preeti | Preeti To Unicode Converter |
| Fixed Deposit Calculator | EMI Calculator |