Blogger Https Custom Domain
Blogger is a very trusted and free platform of google to write blogs. You can easily create blogs by using a google account. Even though you can start blogging with a free subdomain of Blogspot, you can also add a custom domain as well. The best thing is that you now get https security in your HTTP blog. if you are searching for blogger https custom domain or how to add the custom domain name in your blogger, then this article is very helpful for you.
How to add the custom domain name in blogger?
Adding a custom domain name in your blogger blog is not so difficult. Many people start blogging in blogger as it is free and trusted. When you run a blog for a long time, the server cost can demotivate you. So, it is better starting blog with blogger. For that, it is better to have a custom domain. It increases your authority, trust and also can get indexed on google.
When you get a custom domain, you should follow some steps which might be technical. But, do not worry, I will guide you an easy way. Before going through this, I will help you get 100% free domain.
How to get 100% free domain?
If you are searching for 100% free domain, then you can get a free custom domain for a year in Freenom. You can get 100% free domain having the extensions like .tk, .cf , .gq and .ml. You can use these domains completely free for a year. Many bloggers have used these domains and got Adsense approval as well.
Mostly these 100% free domains are used by the beginners to understand blogging, backlinks, SEO, keywords, affiliate marketing, etc. When they understand how blogging goes, then they renew such domain and purchase a suitable domain and start making money from blogging.
You can simply sign up with Google Account and get you 100% free domain.
Follow the given steps to get 100% free domain:
1. Go to the official website of Freenom and login with your Google account.
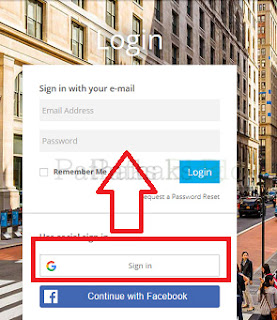 |
| login to freenom with google account |
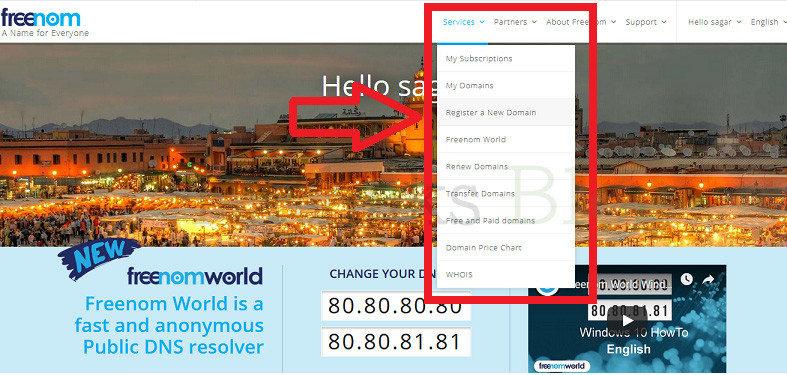
2. Find the option Services and then Click on Register New Domain.
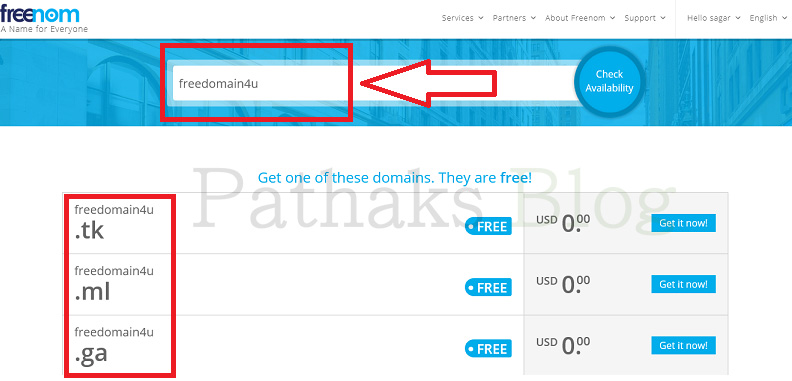
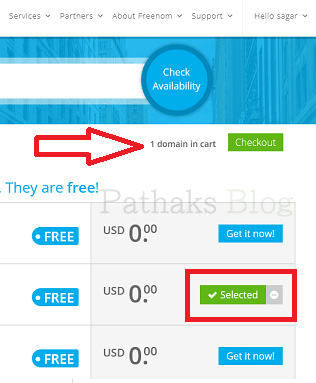
3. When you get a suitable domain, select the desired extension like .tk, .ml, .cf, etc. and then click on Checkout.
4. By default, these domains are available for 3 months. So, you must change the setting and set it to 12 months.
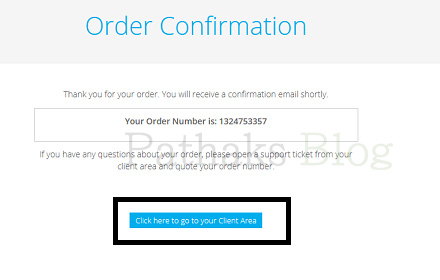
5. Now, if you have not provided your details, fill the information and then Agree on The Terms and Conditions and click on Complete Order.
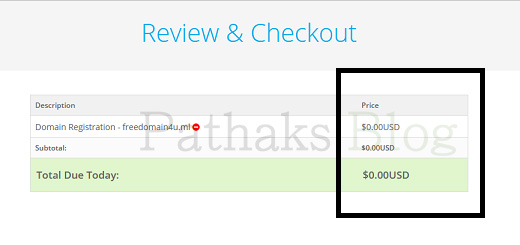 |
| 100% free domain at freenom |
 |
| complete your free domain order in freenom |
6. That’s it. Congratulations !!! Now you have a 100% free domain.
7. For that go to the client area. There you will see all your domains.
How TO Add Custom domain to blogger?
To link that custom domain with blogger, follow the given steps :
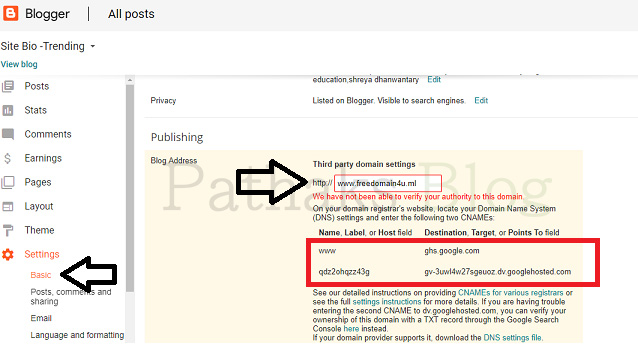
1. Go to the basic setting of Blogger.
2. There you will see the Third Party Custom Domain option.
3. Click here to add the custom domain name in blogger.
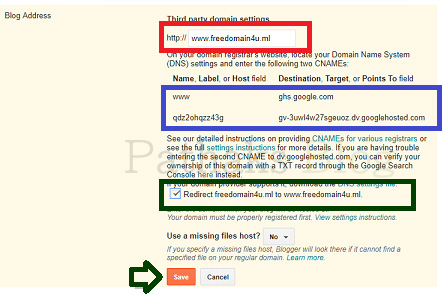
4. Now enter your domain name like www.freedomain4u.ml
5. Then you will be provided CNAME which should be added on your domain DNS Setting.
6. Now, as we have 100% free domain from Freenom, you should log in to the Freenom dashboard.
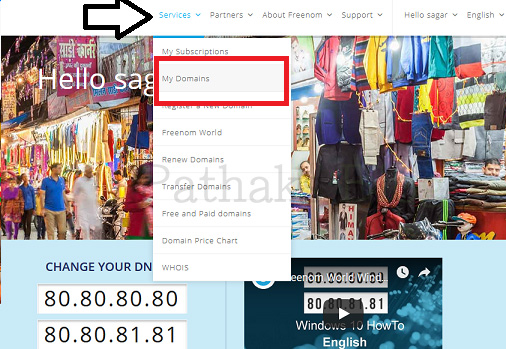
7. Go to the option Services in the navigation menu. There you will find the option as My Domains. Click there.
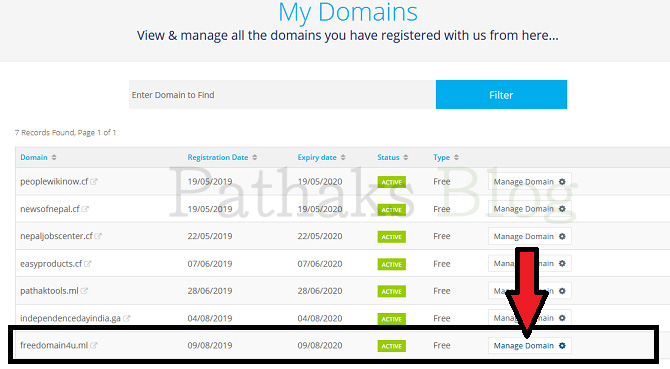 |
| list of domains in freenom |
8. Now you will see all your domains. Click on the Manage Domain.
10. There you need to add A Records and CNAME.
A Records IP
216.239.32.21
You will get CNAME in the blogger setting.
11. After a few minutes of adding A Records and CNAME in your domain DNS, your custom domain gets linked into the blogger. So, after a few minutes, typer your domain as www.freedomain4u.ml and save it.
12. Then, you need to choose the redirect option. That’s it. Congratulations !!! Your Blogspot blog is connected to your 100% free domain.
Blogger Https Custom Domain
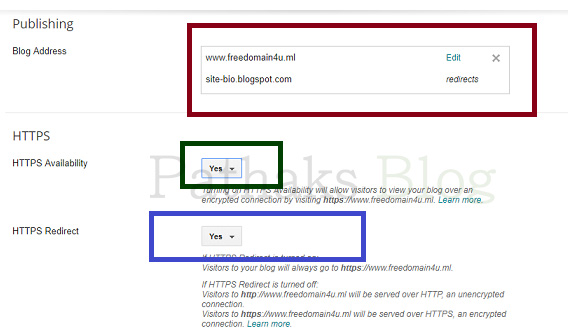
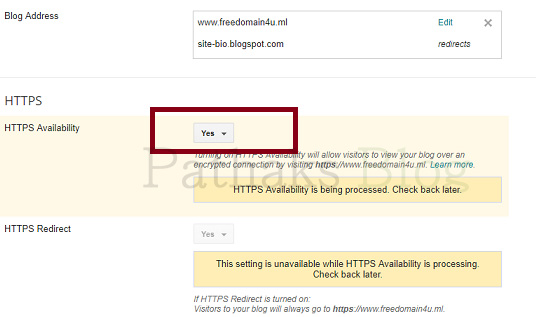
Now, you can easily add https to your custom domain in your blogger blog. Follow the given steps to enable free https in your blogger blog:
2. In basic tab, you will the option as HTTPS.
4. After few hours, the option of HTTPS Redirect gets enabled.
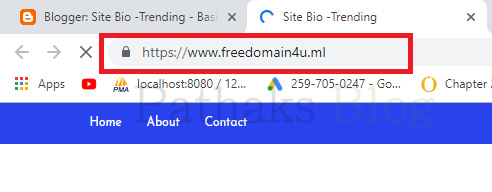
6. Thats it. Congratulations !!! HTTPS has been enabled in your blogger custom domain.


